Facilitybot allows Managers to configure custom fields for assets to store additional asset information.
- Log in to Facilitybot Web Portal.
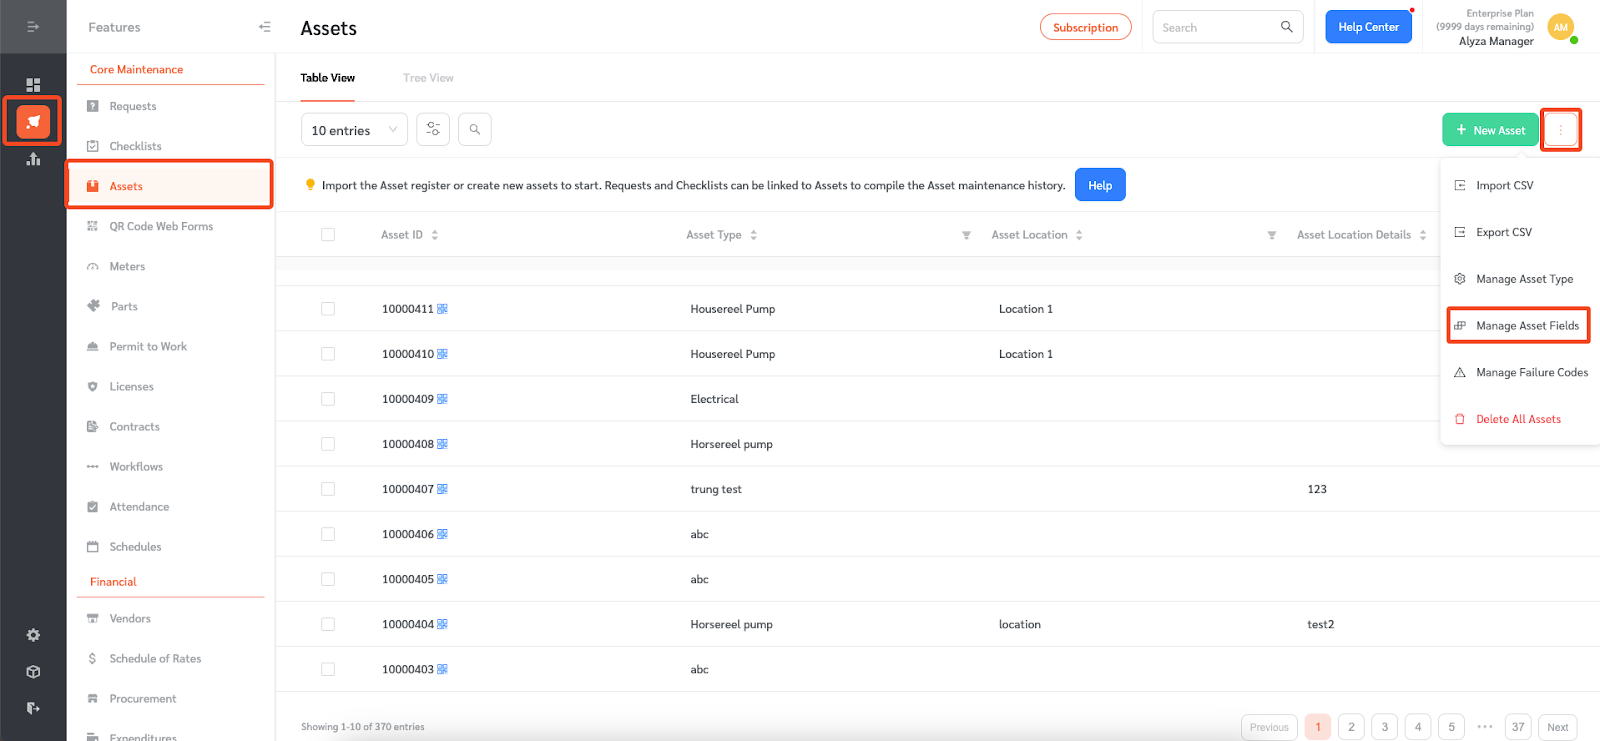
- Go to ‘Features’ → ‘Assets.’
- To configure additional asset fields, click on the three-dot menu on the upper right and select ‘Manage Asset Fields.’
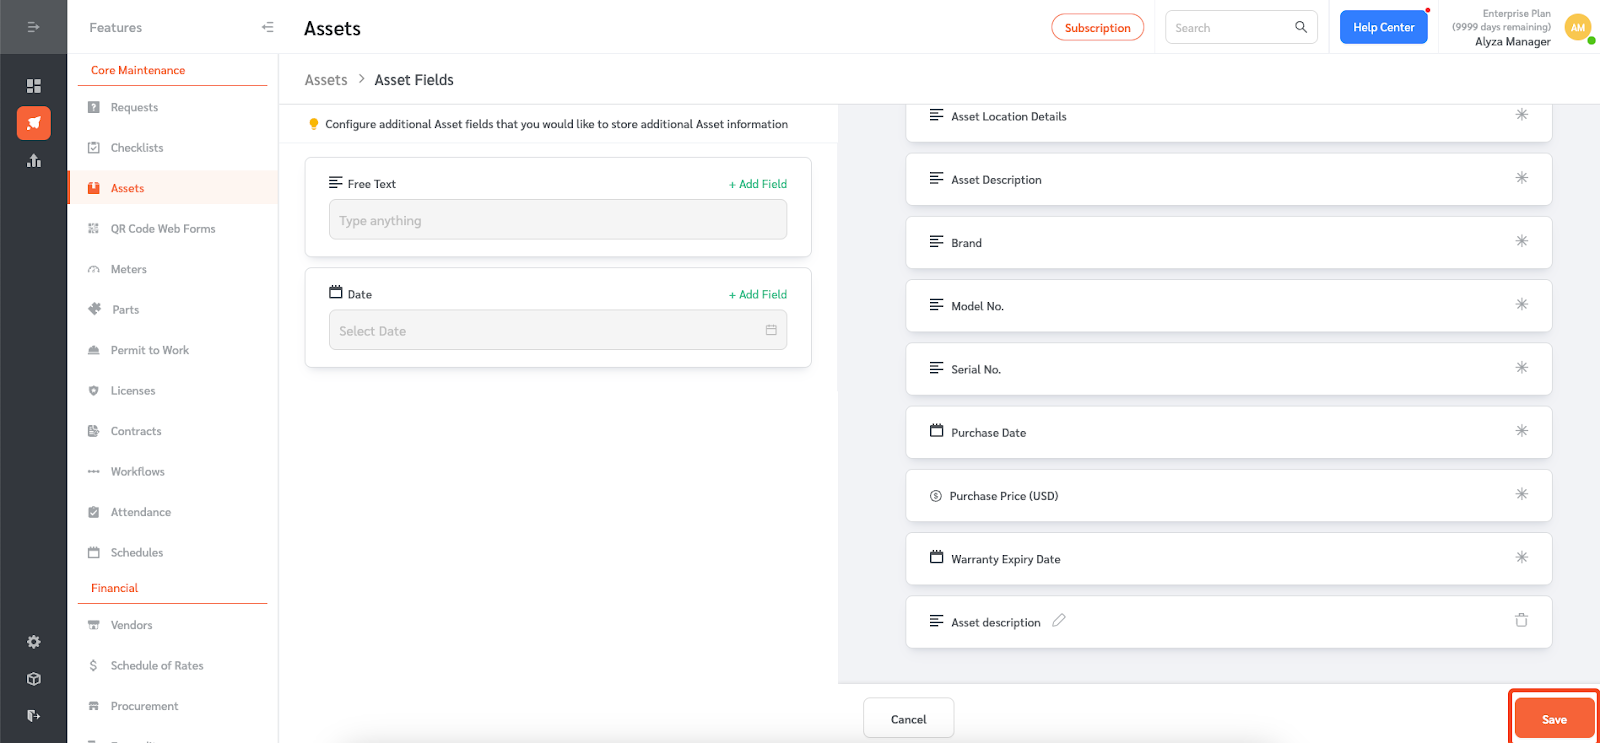
- You will be redirected to a new page where you can create custom asset fields. The page shows the list of current asset fields on the right.
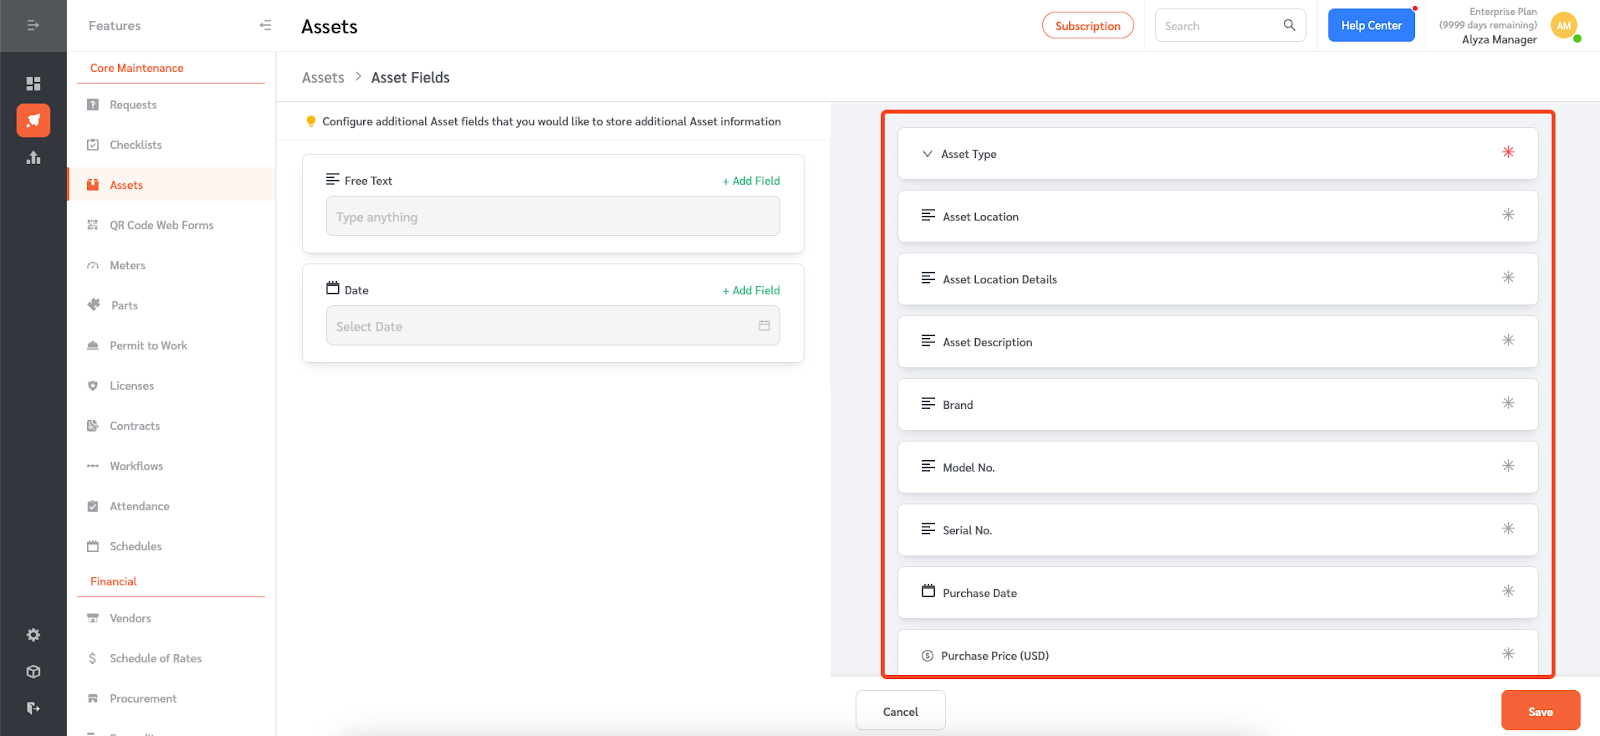
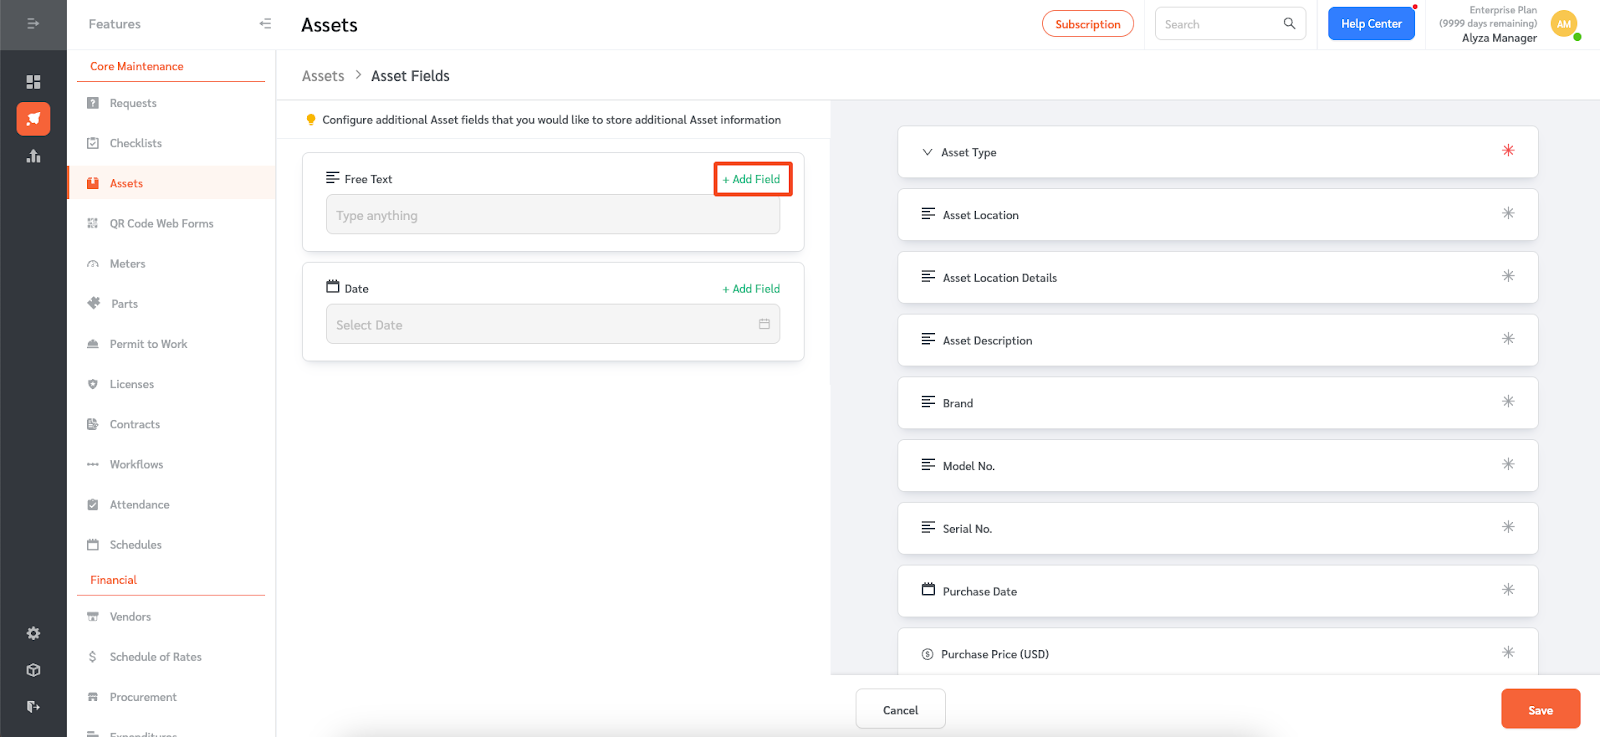
- Facilitybot allows you to create a free text field and a date field for the custom asset field.
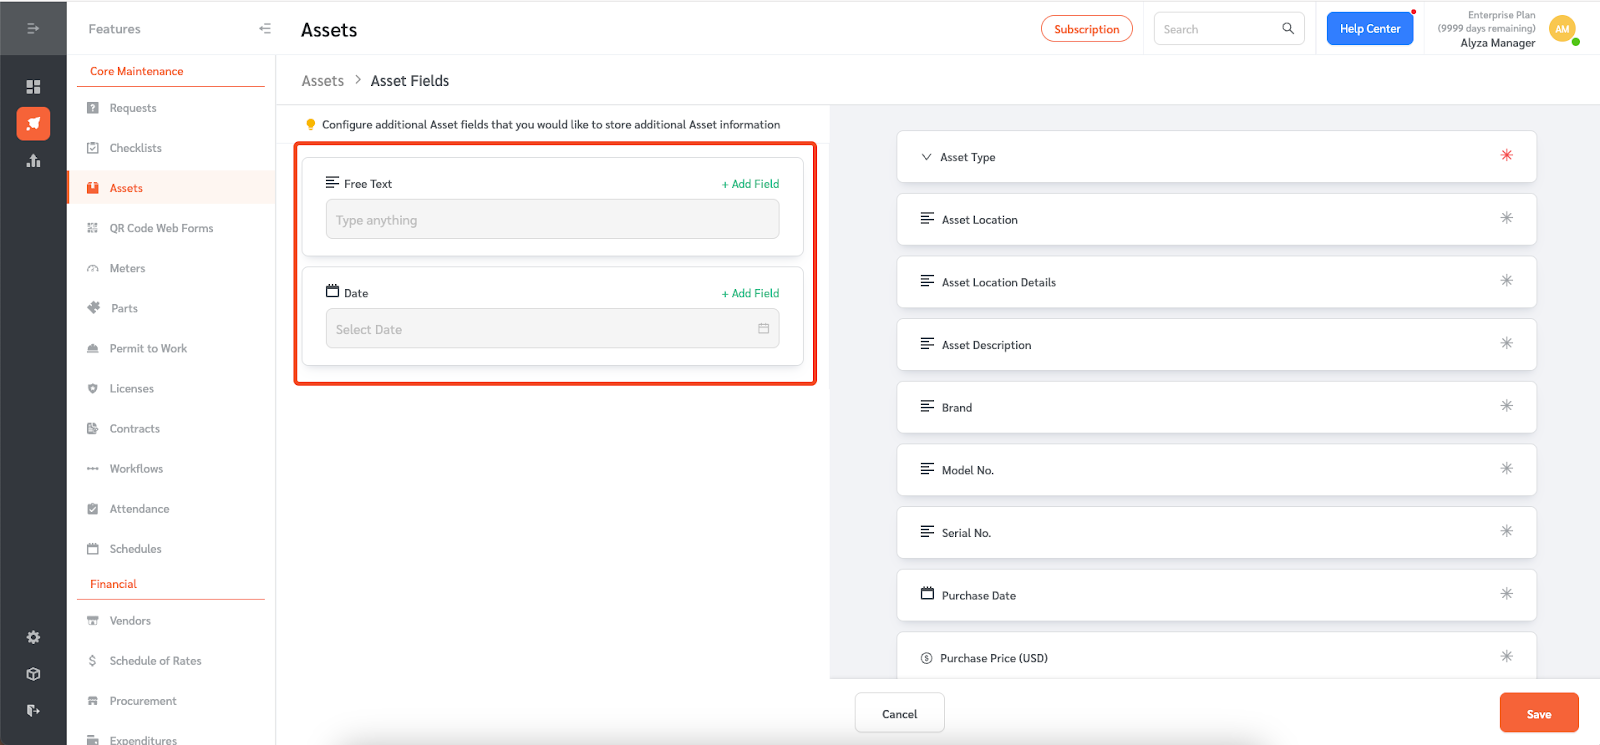
- To add a field, click on ‘+Add Field’ beside the field type you want to create.
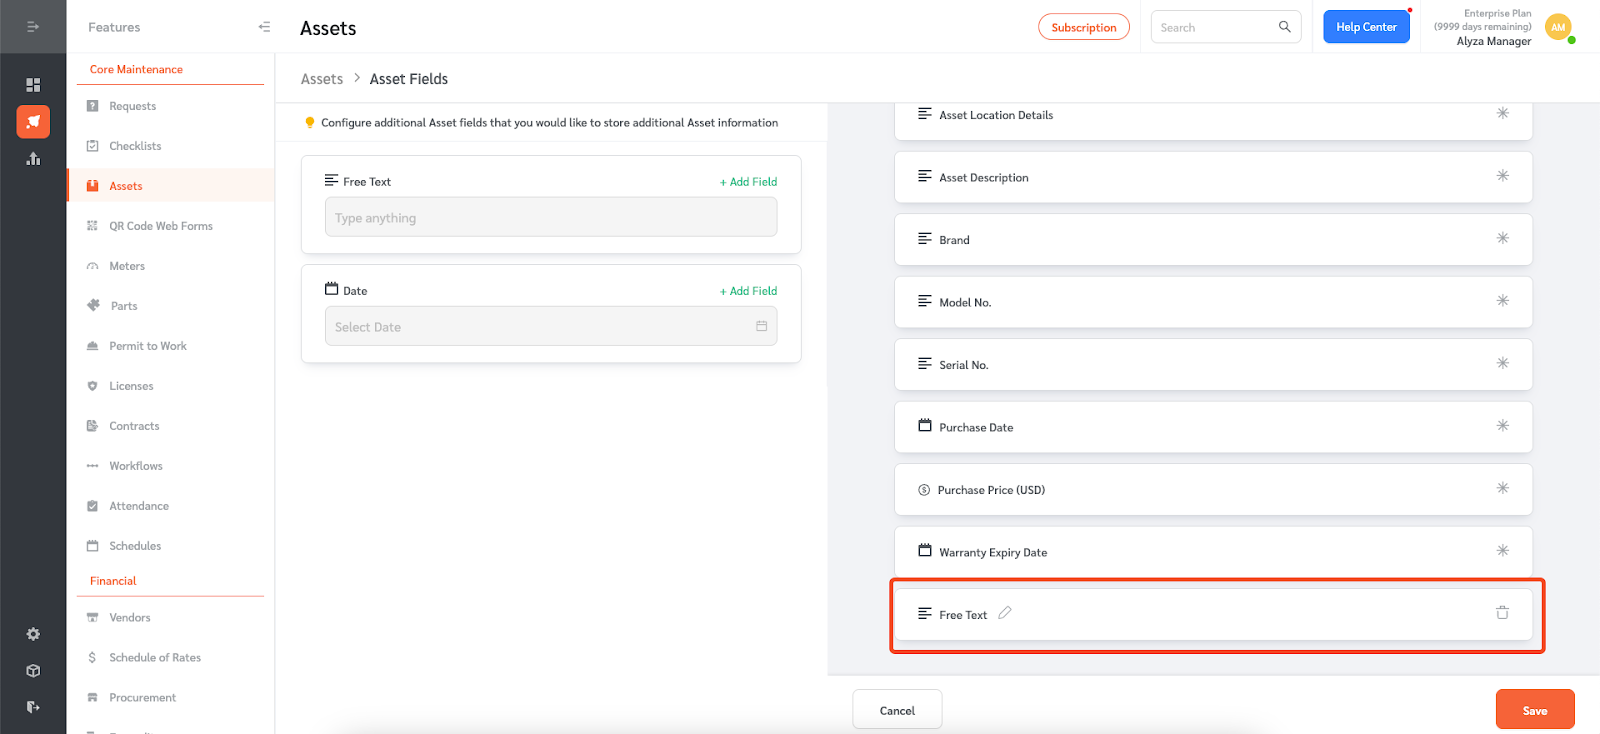
- The newly created asset field will appear on the right.
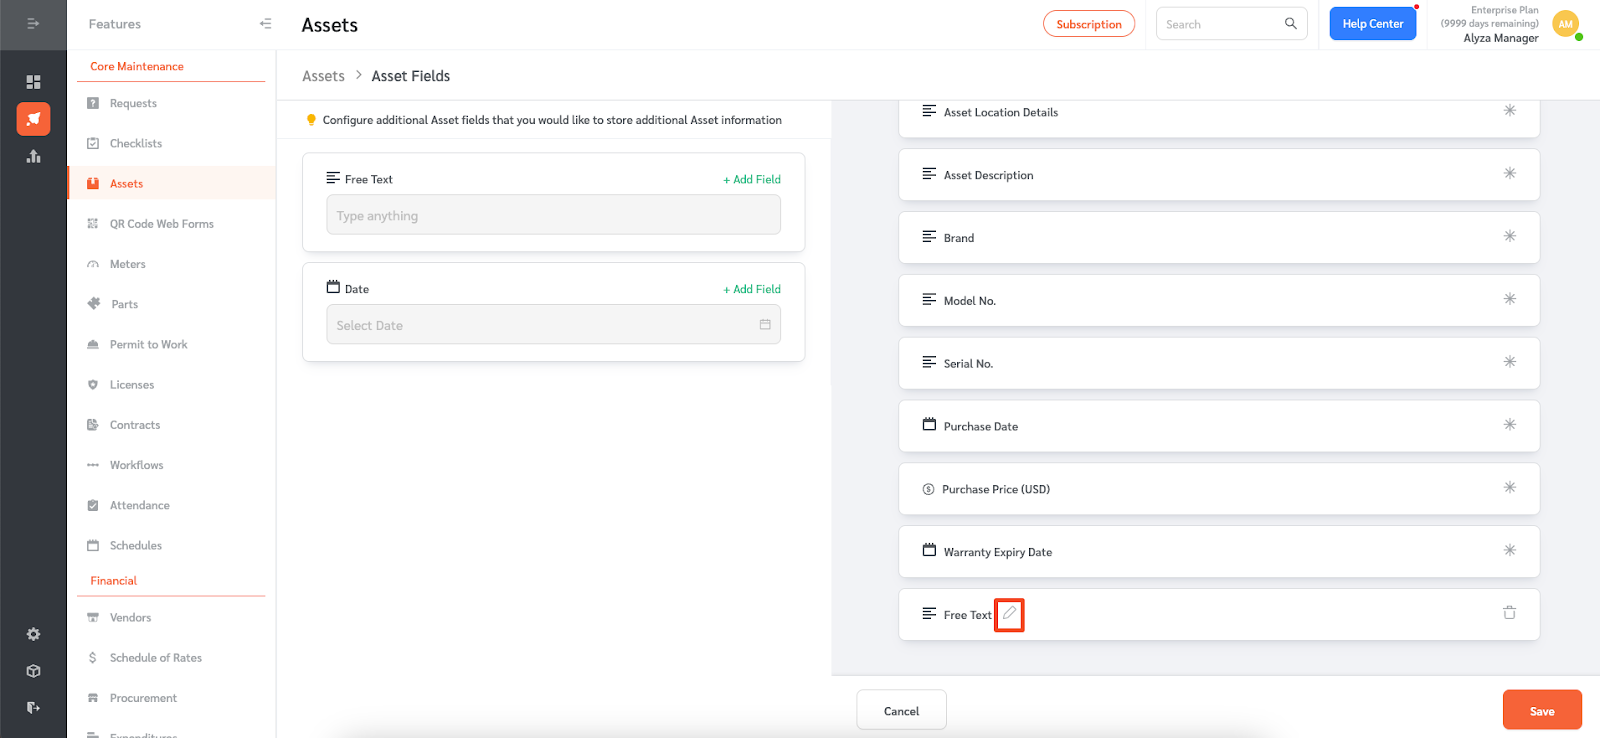
- You can give the new asset field a name by clicking on the pen icon beside the field.
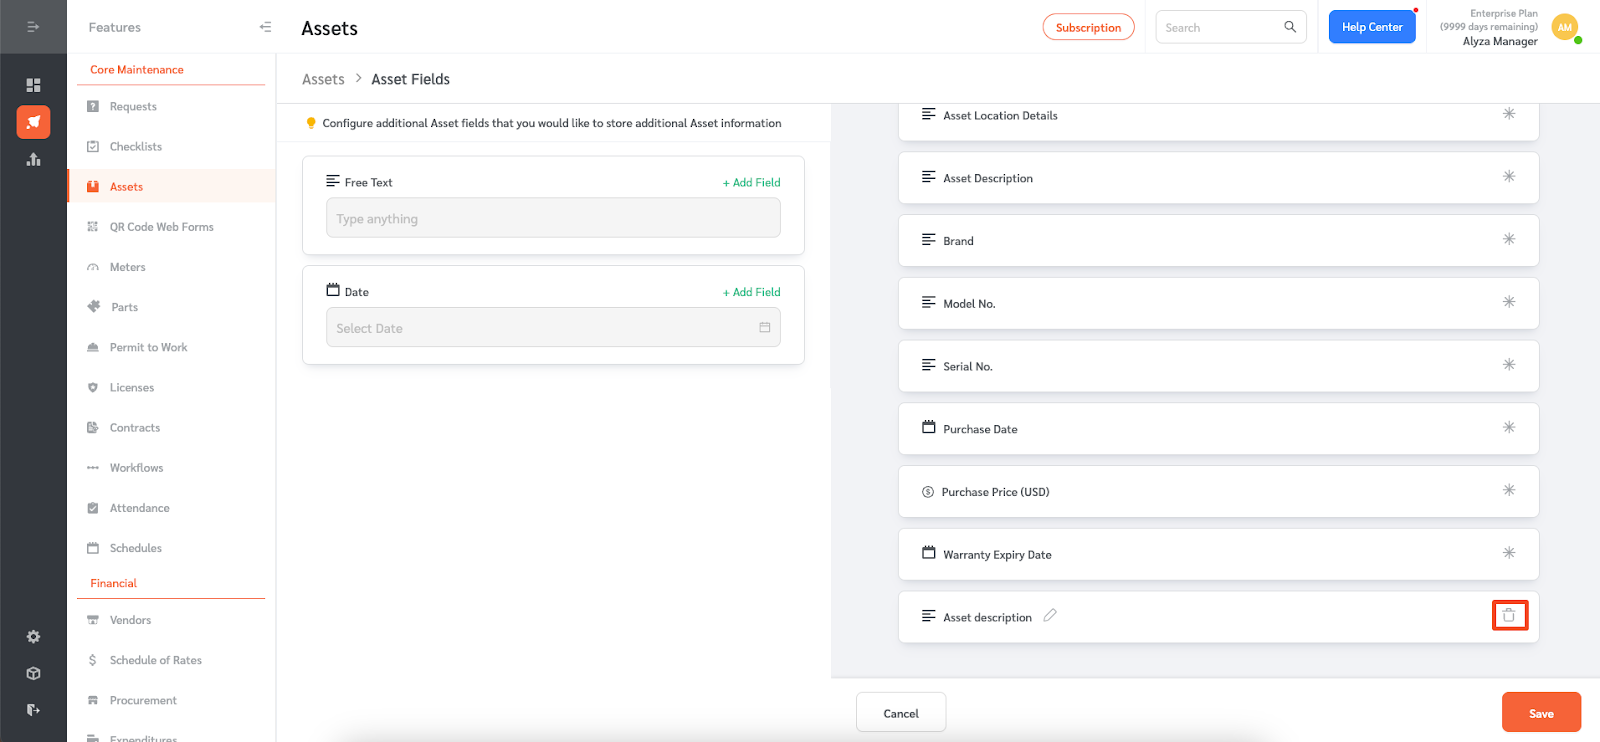
- You can also delete the asset field by clicking on the bin icon. Note that asset fields cannot be deleted if an asset has already utilized that field.
- Once the asset field is created, click ‘Save’ to save the changes.
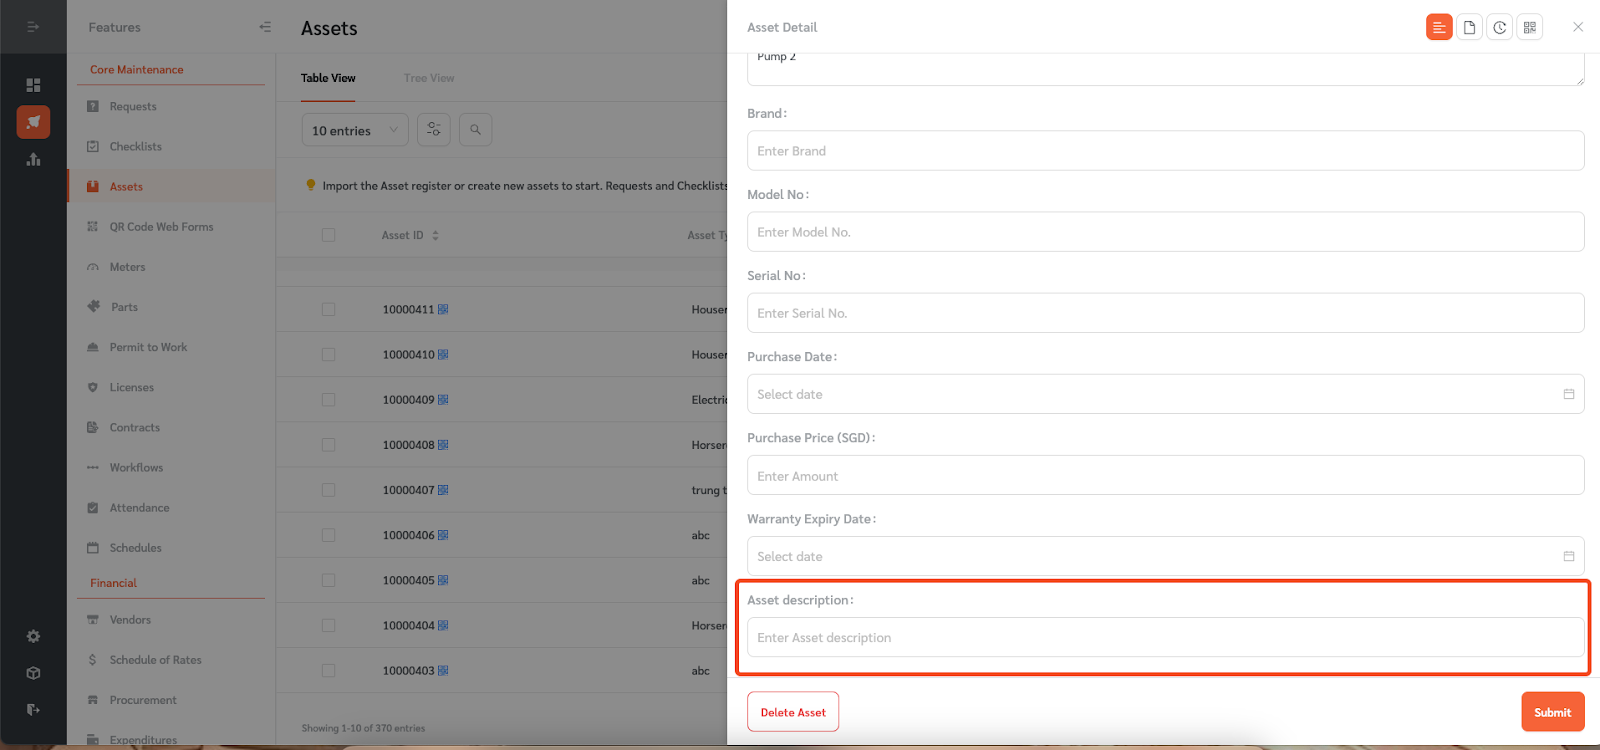
- The newly created asset field will appear in the asset details.
Creating a new asset with the new custom field
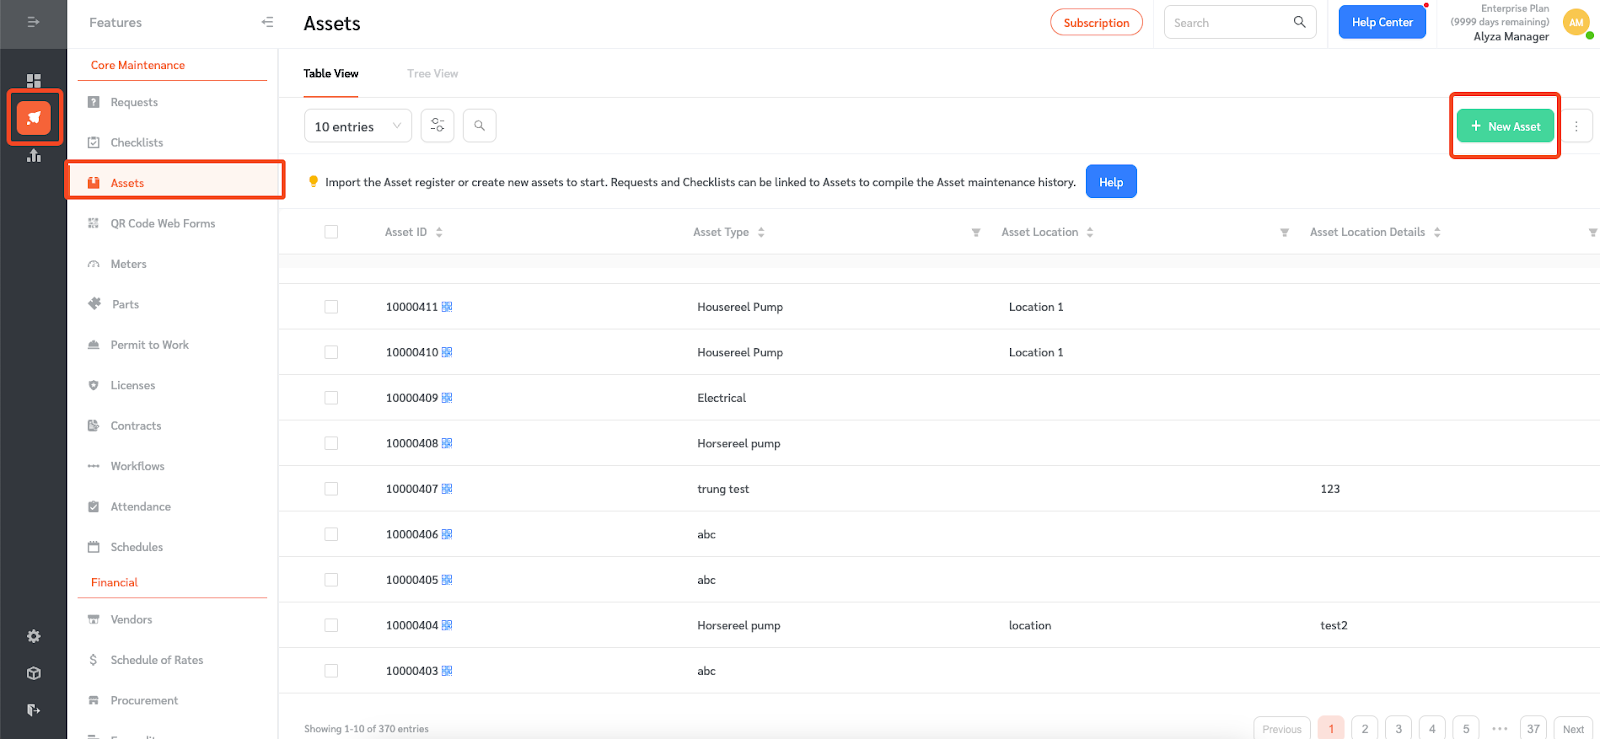
- All newly created assets will allow updating of the custom field. TO create a new asset, go to ‘Features’ → ‘Assets.’
- Click on ‘+New Asset.’
- The newly created custom field will appear.

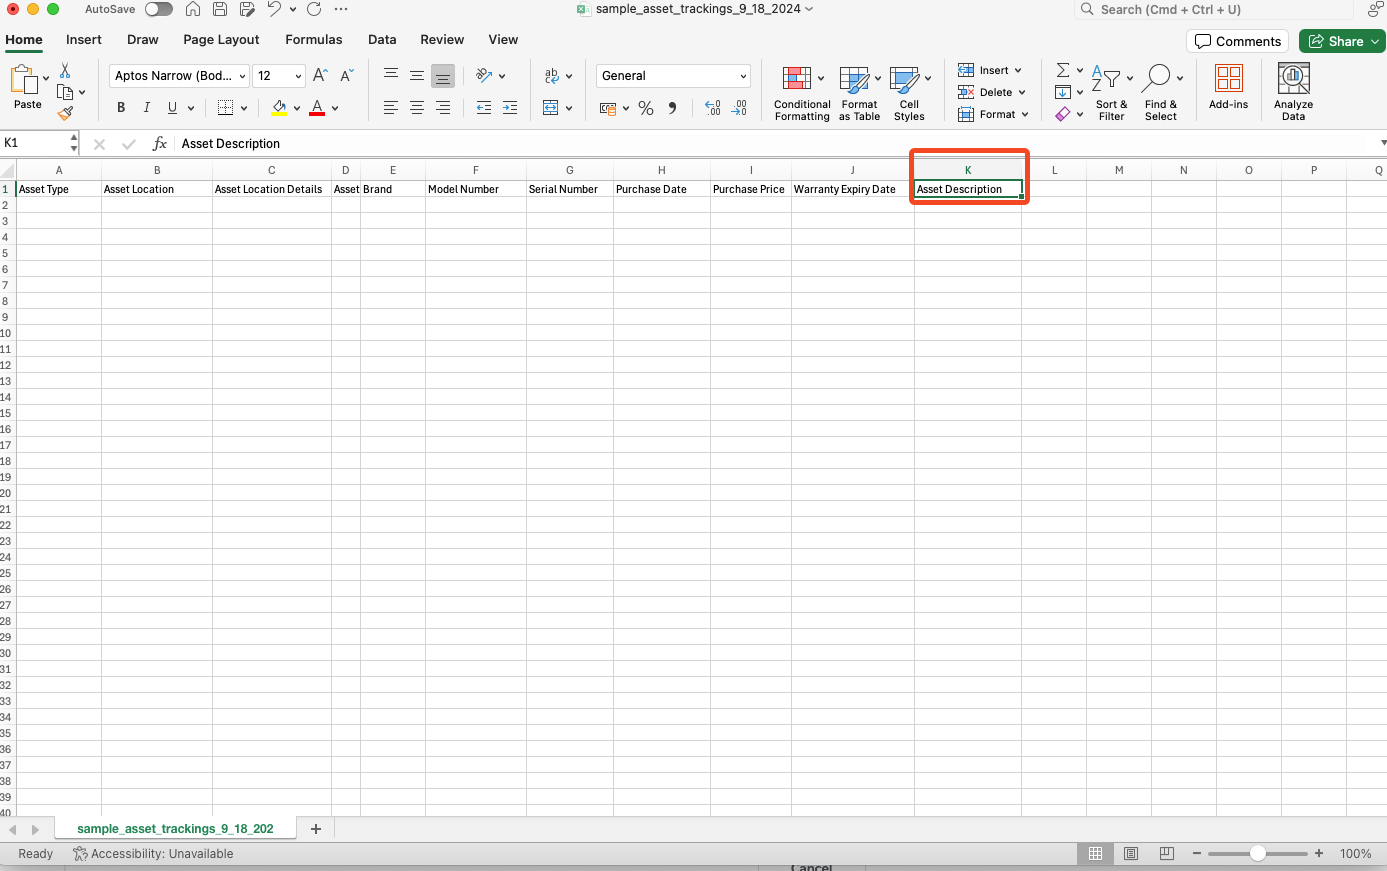
Asset import template
- The asset import template will also include the newly created asset field.
- On the main page, click on the three-dot menu and select ‘Import Asset CSV’ to import assets.

- Download the asset import template.
- The template will show the newly created custom asset field.