
Introduction
FacilityBot now includes Purchase Orders, a new module for creating official purchase orders and sending them to your vendors without leaving the platform. Each purchase order captures the vendor details, invoice and delivery addresses, itemised line items with tax, notes, and an optional PDF attachment, and FacilityBot calculates the totals for you. You can also link a purchase order to an existing RFQ and to Expenditure records, so the paper trail from quotation to spend stays connected.
How It Works
Set Up Your Company Details
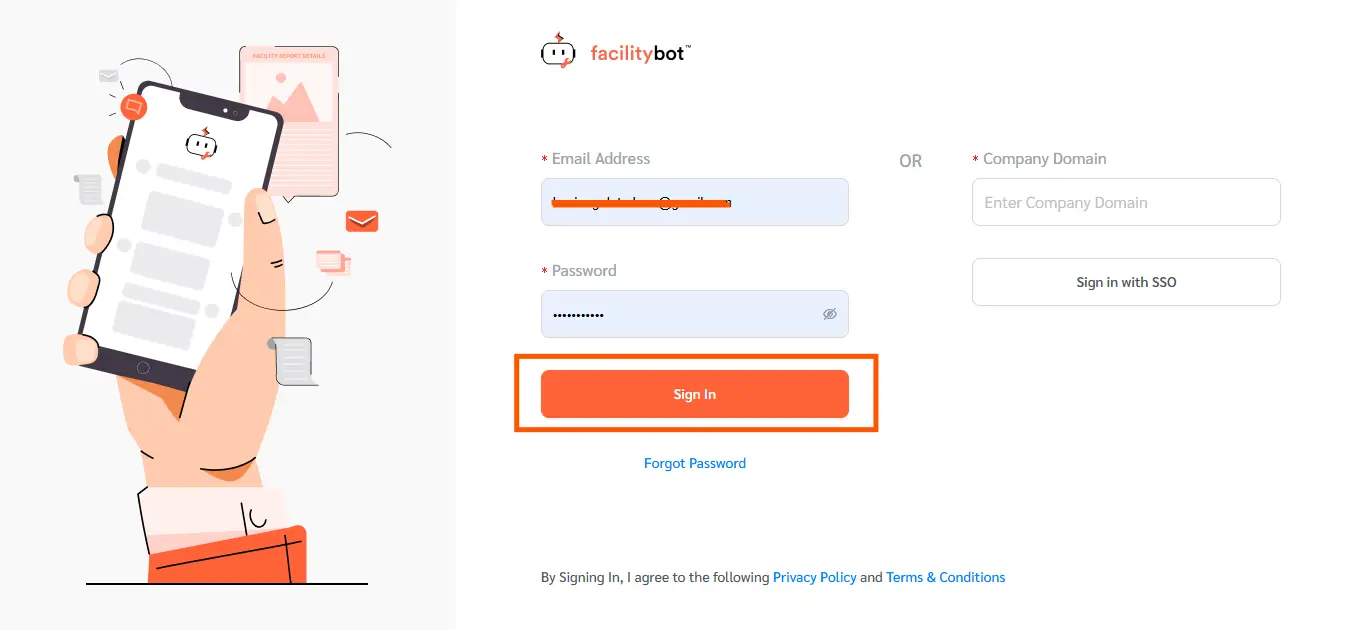
- Log in to the FacilityBot Web Portal.
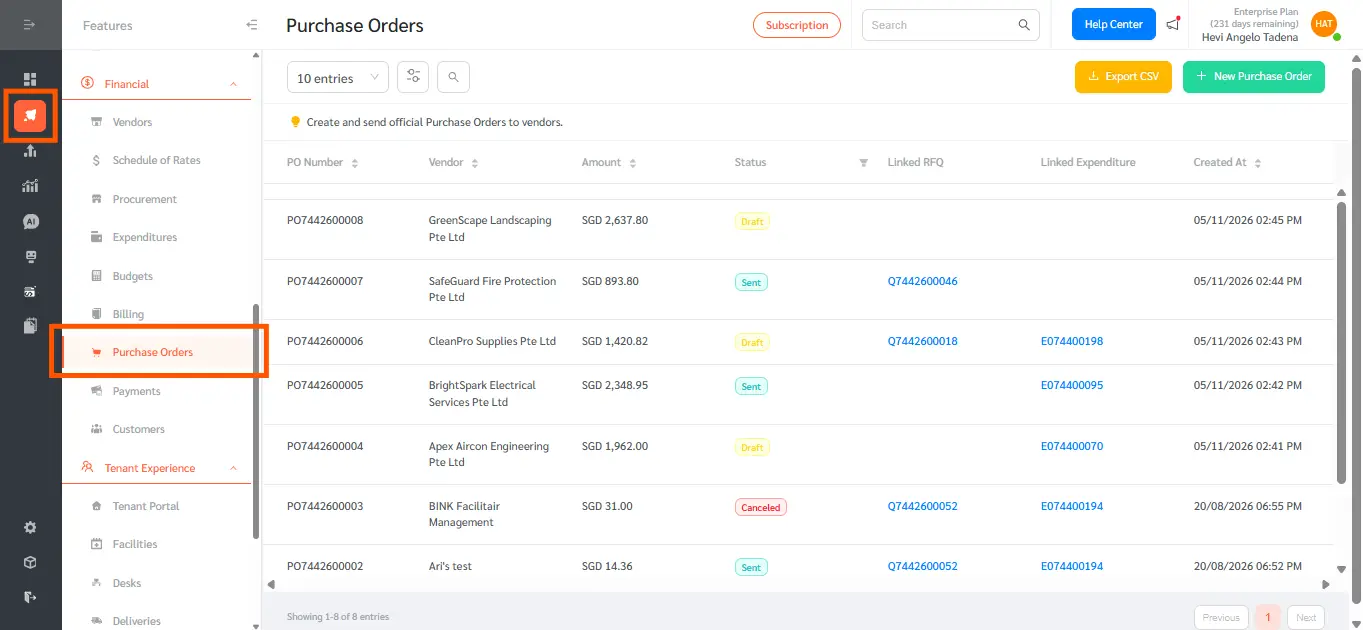
- Go to Features, then Purchase Orders.
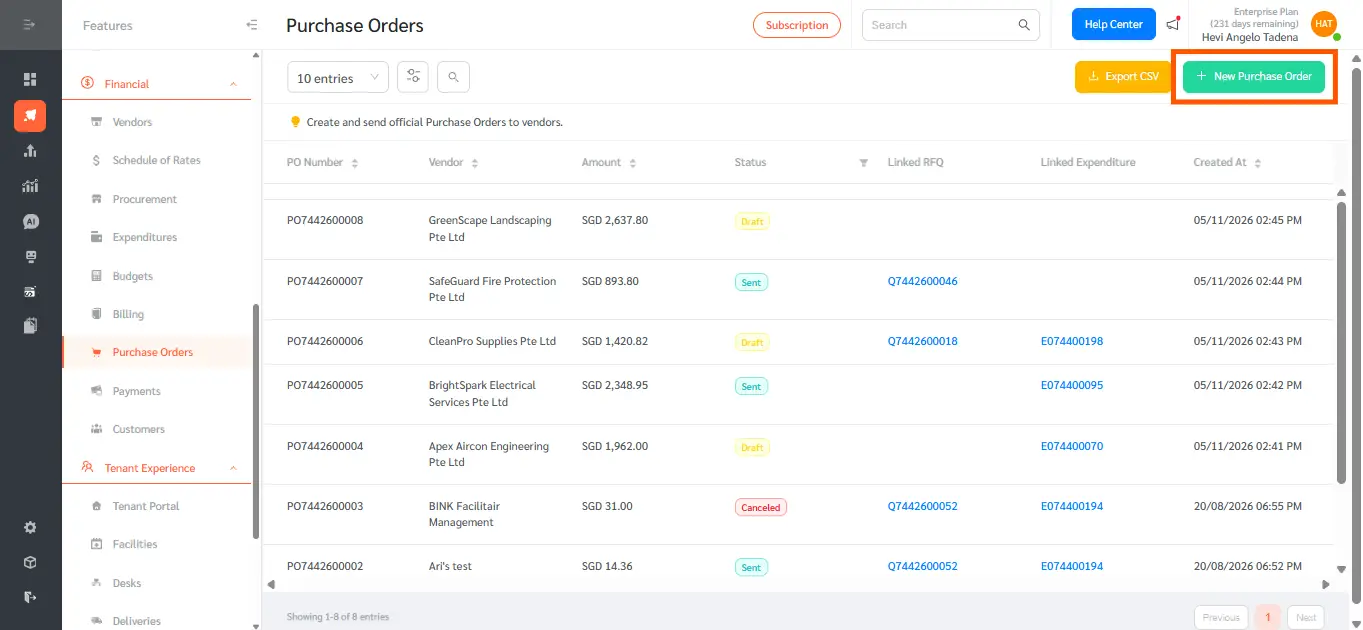
- Click the green New Purchase Order button in the top-right corner.
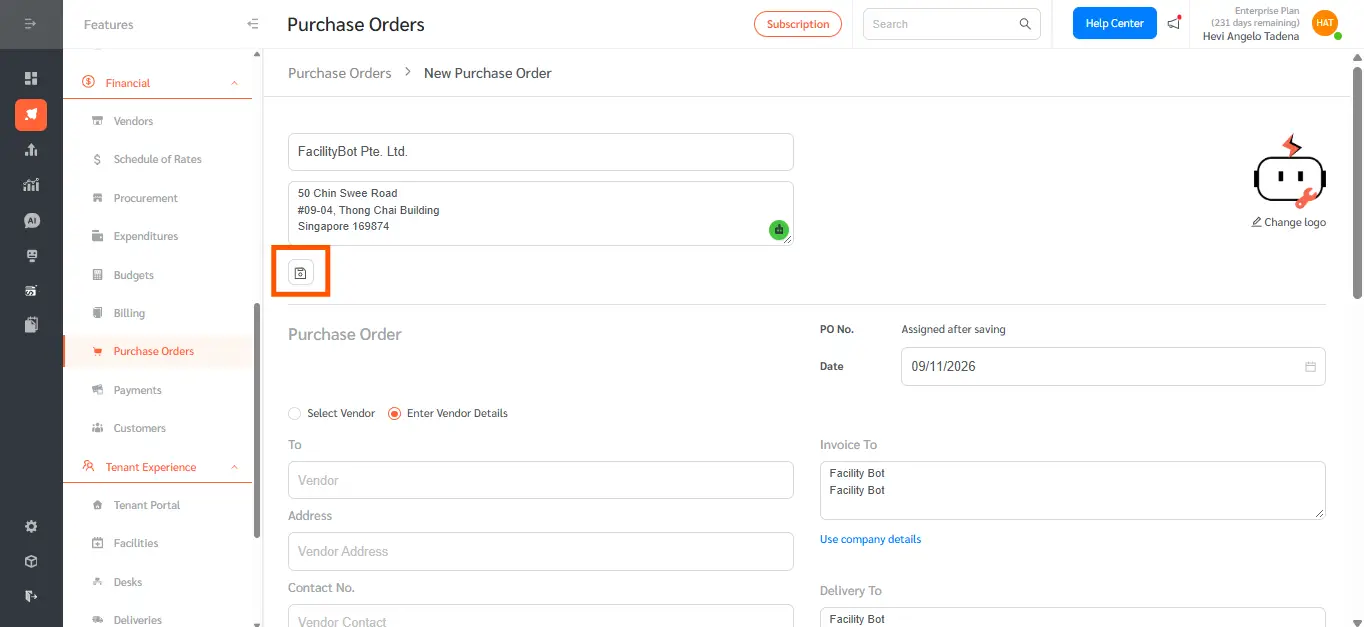
- At the top of the form, enter your company name and address in the two fields provided. These appear on the Purchase Order. To change the logo, click Change logo below the logo on the right.
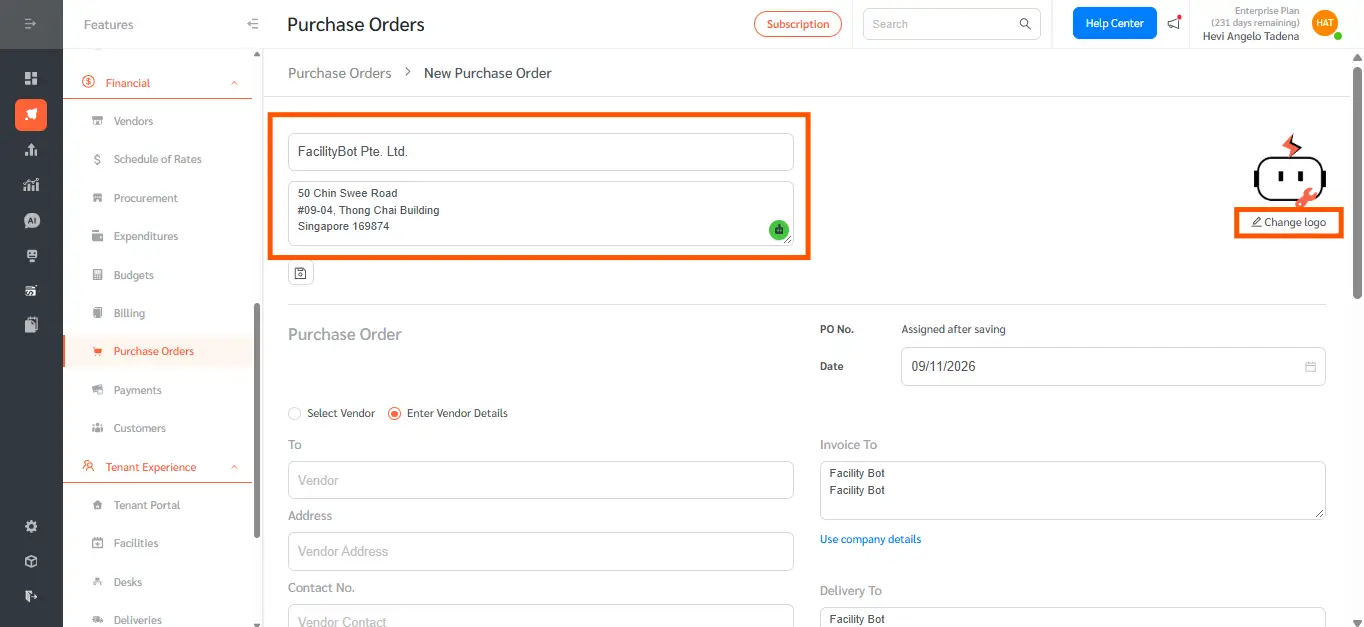
- Click the small save icon below the address field to save these company details as the default for future Purchase Orders.
Create a Purchase Order
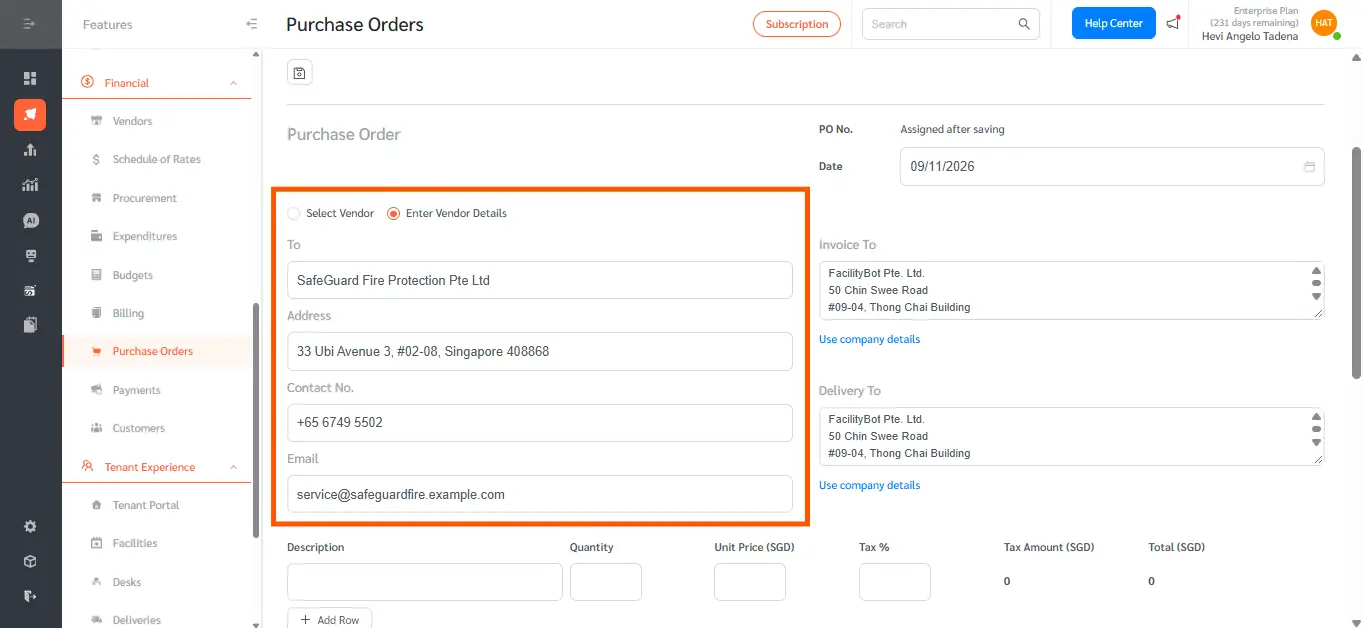
- Choose how to add the vendor. Select Vendor to pick an existing vendor from the dropdown, and the address, contact number, and email fill in automatically. Select Enter Vendor Details instead to type the vendor’s name, address, contact number, and email yourself.
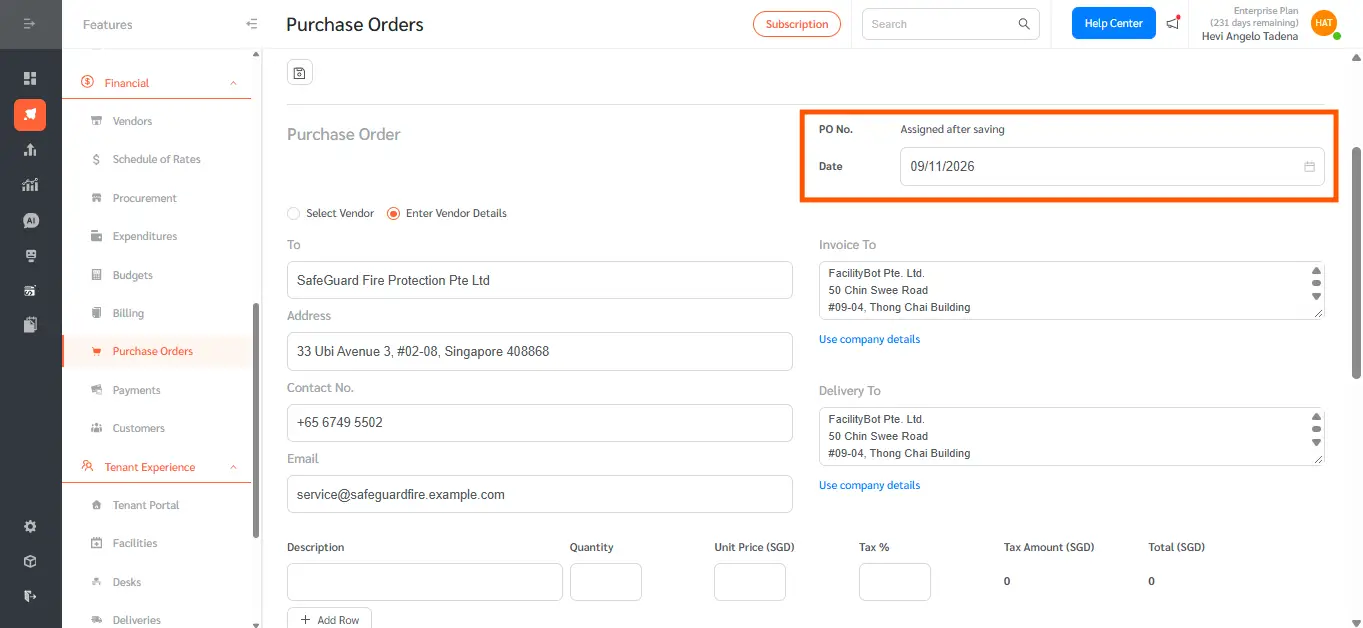
- Check the Date, which defaults to today. The PO No. shows “Assigned after saving” and is generated when you save the Purchase Order.
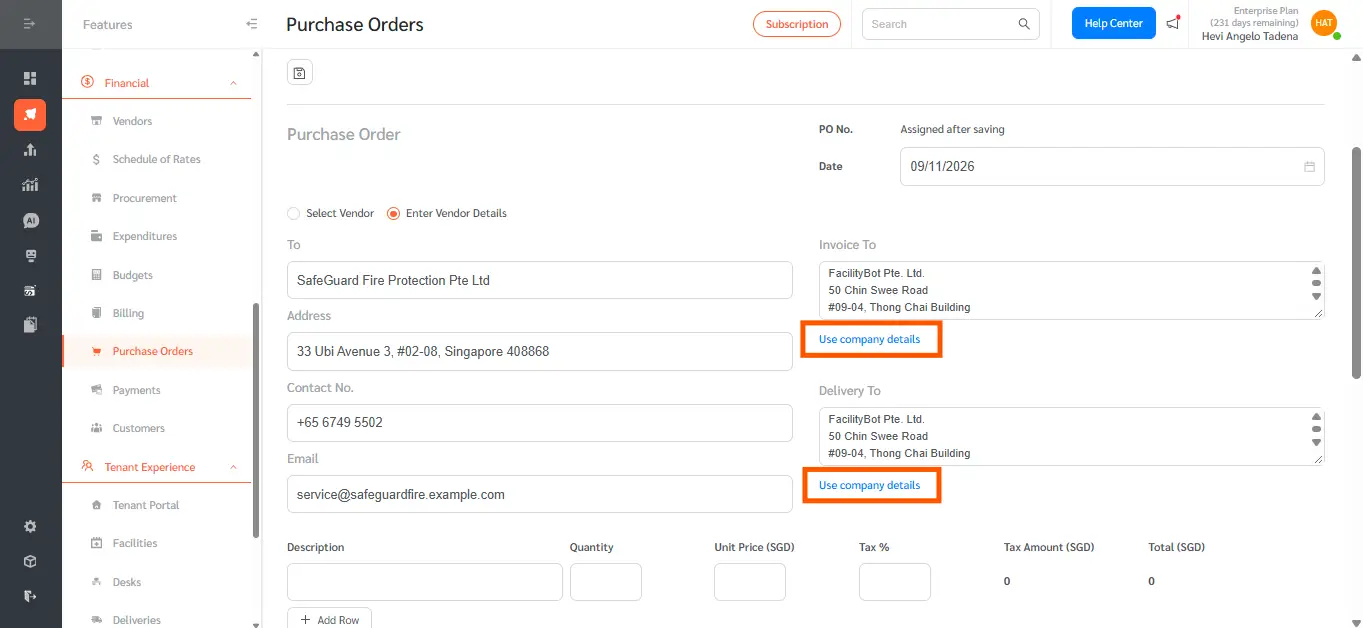
- Under Invoice To and Delivery To, click Use company details to fill in your saved company details, or type a different address.
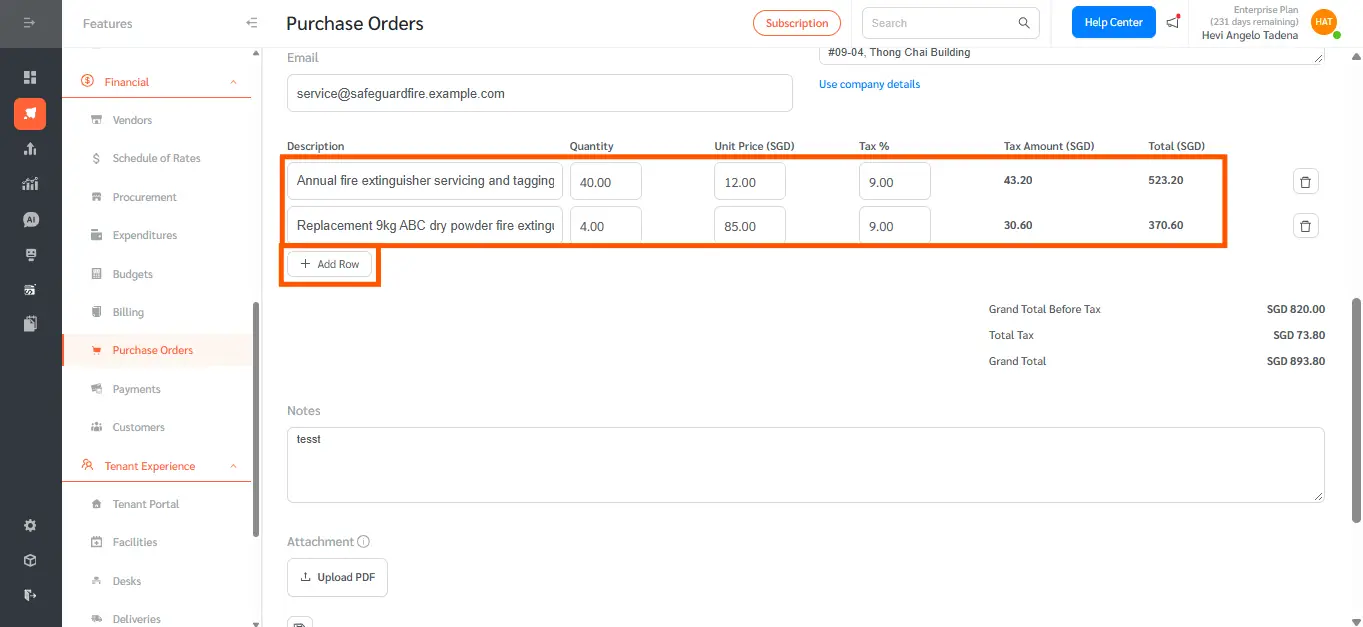
- In the line items row, enter the Description, Quantity, Unit Price (SGD), and Tax %. The Tax Amount (SGD) and Total (SGD) calculate automatically. Click Add Row to add another item.
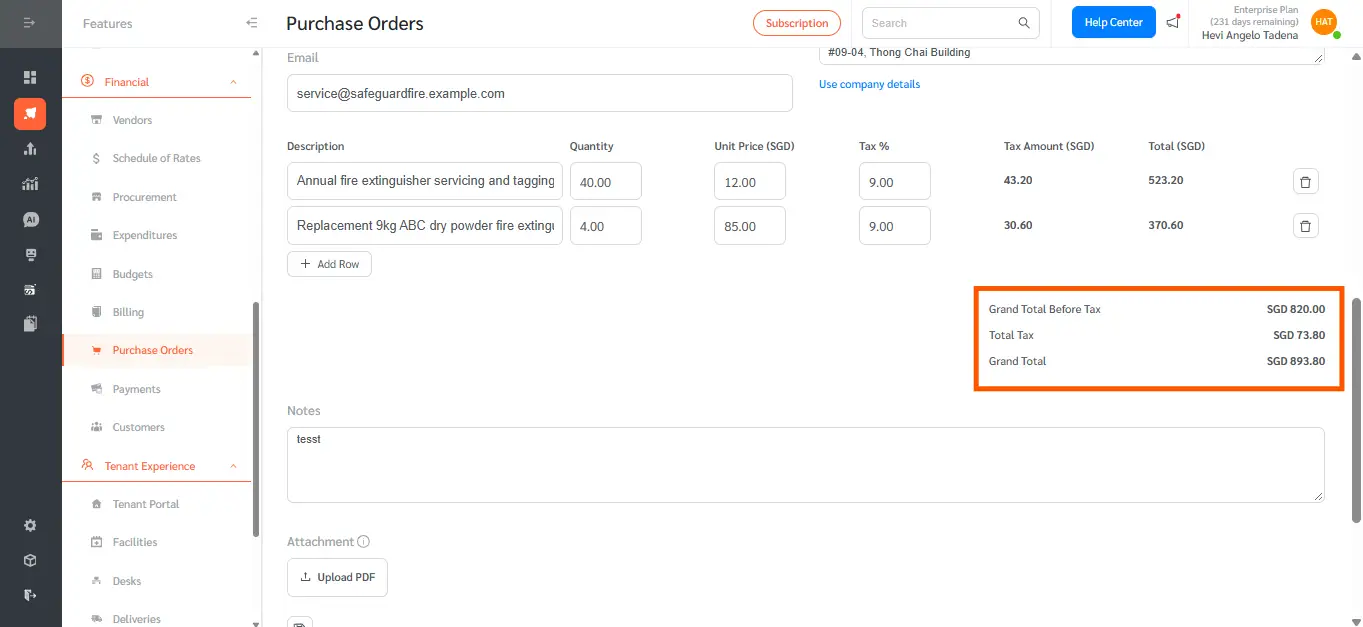
- Review the Grand Total Before Tax, Total Tax, and Grand Total shown below the line items.
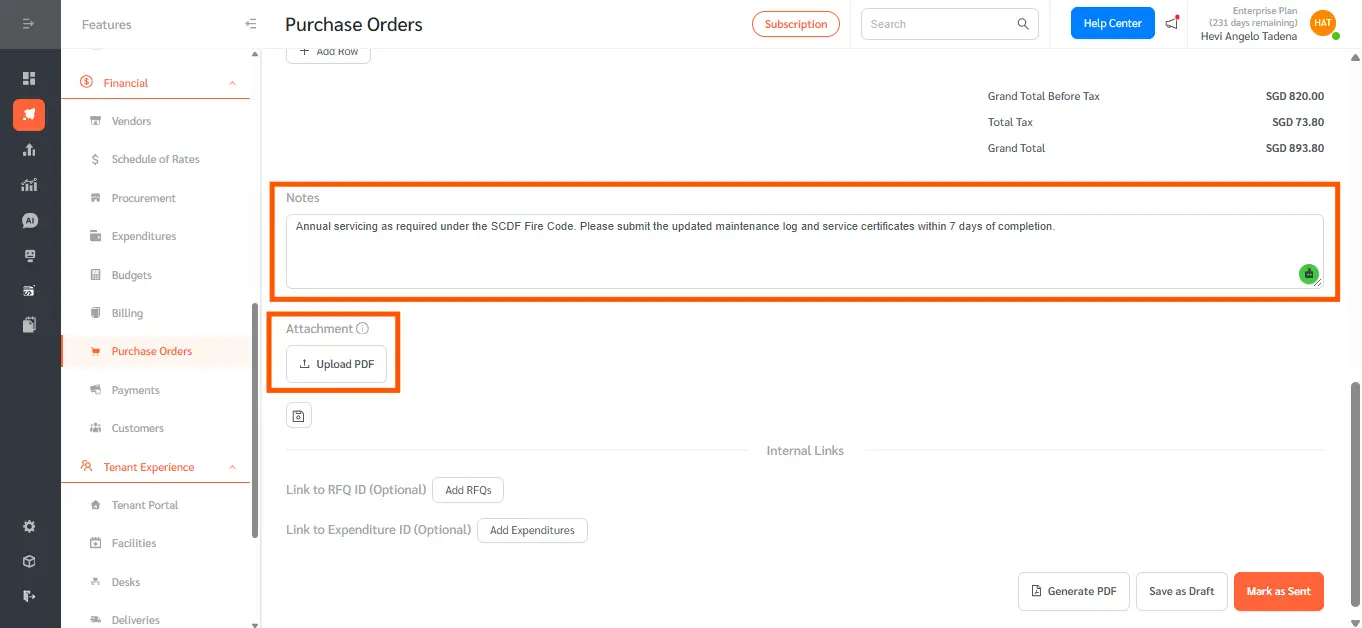
- Enter any Notes for the vendor. To attach a document, click Upload PDF and select the file; the attached PDF is appended to the Purchase Order.
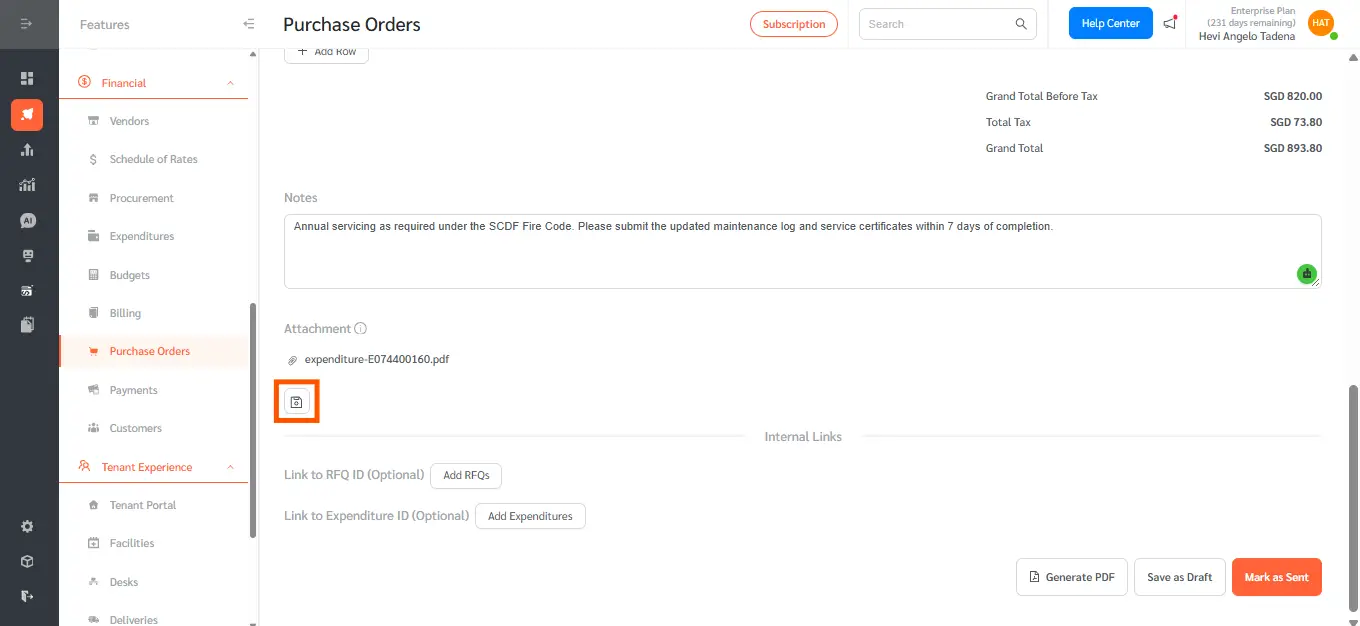
- (Optional) Click the small save icon below the attachment to save the notes and attachment as the default for future Purchase Orders.
- (Optional) Under Internal Links, click Add RFQs to link the Purchase Order to an RFQ, and click Add Expenditures to link it to one or more Expenditure records.
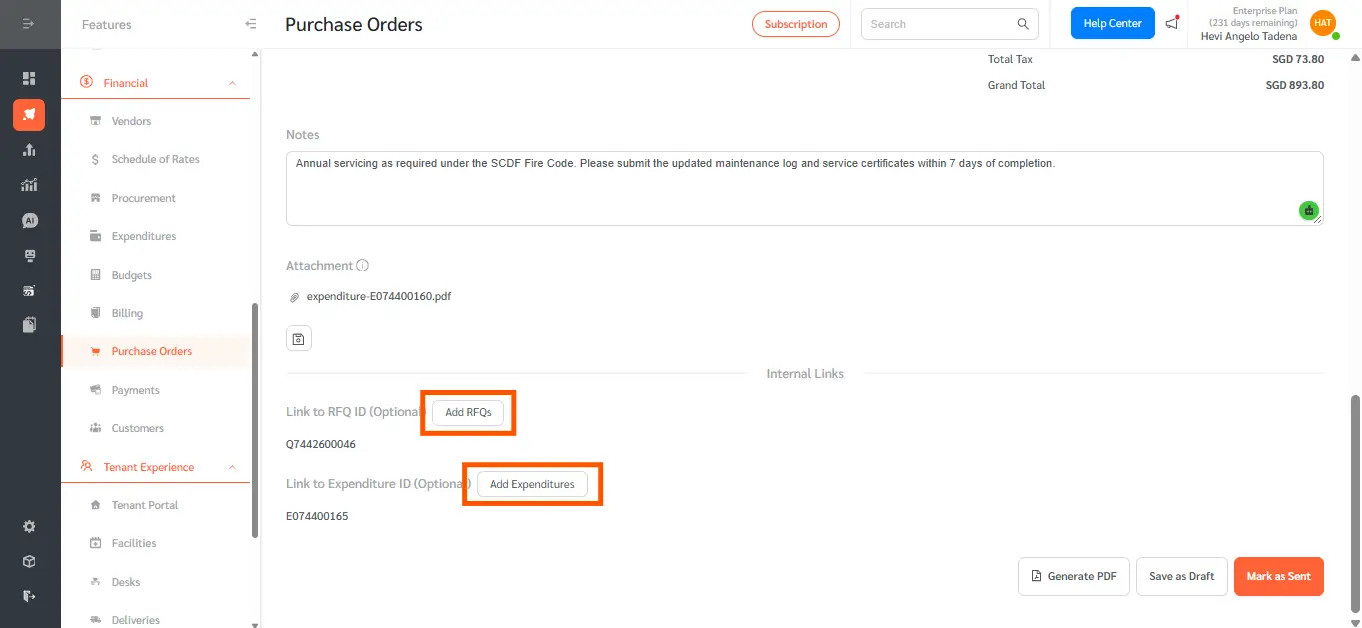
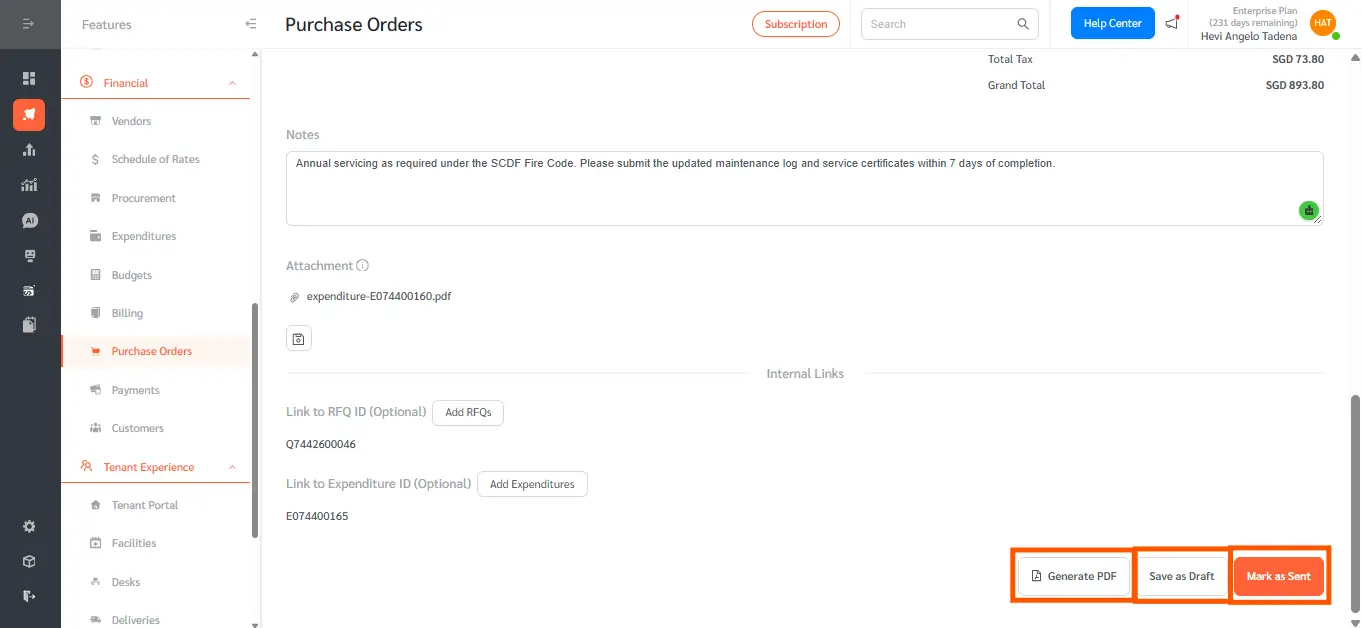
- Click Save as Draft to save the Purchase Order and finish it later, or click the orange Mark as Sent button once it is ready to go to the vendor. Click Generate PDF at any time to produce a PDF copy.
Track and Manage Purchase Orders
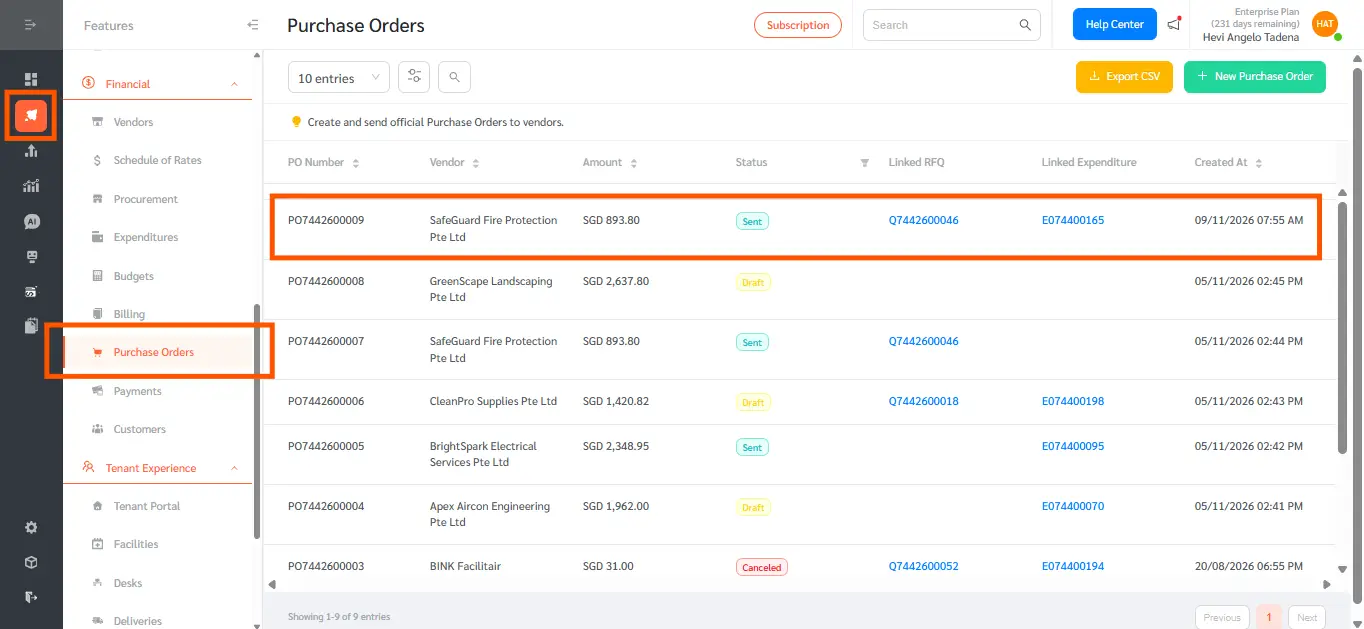
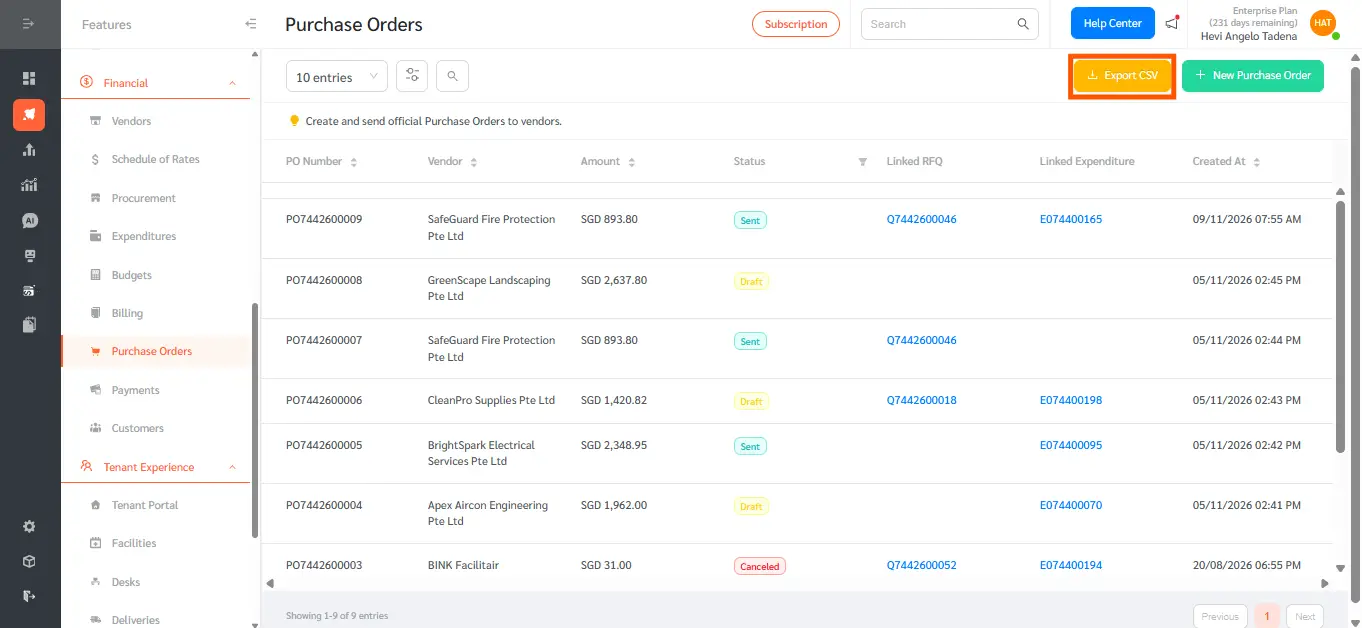
- Go to Features, then Purchase Orders to see all your Purchase Orders, with the PO Number, Vendor, Amount, Status, Linked RFQ, Linked Expenditure, and Created At for each.
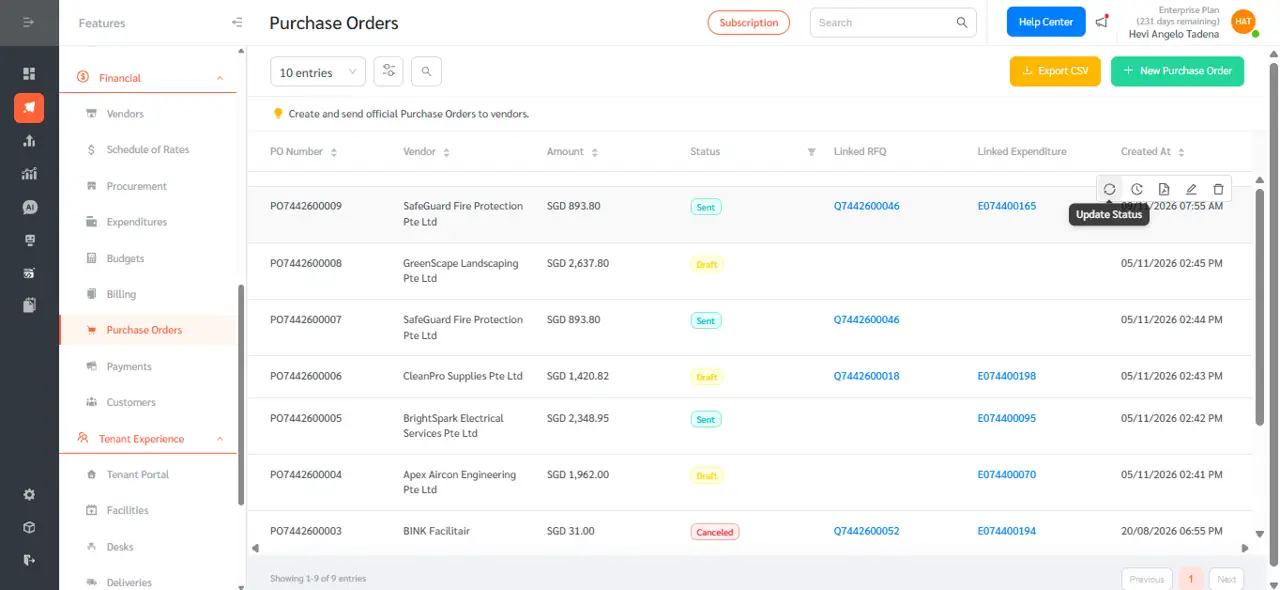
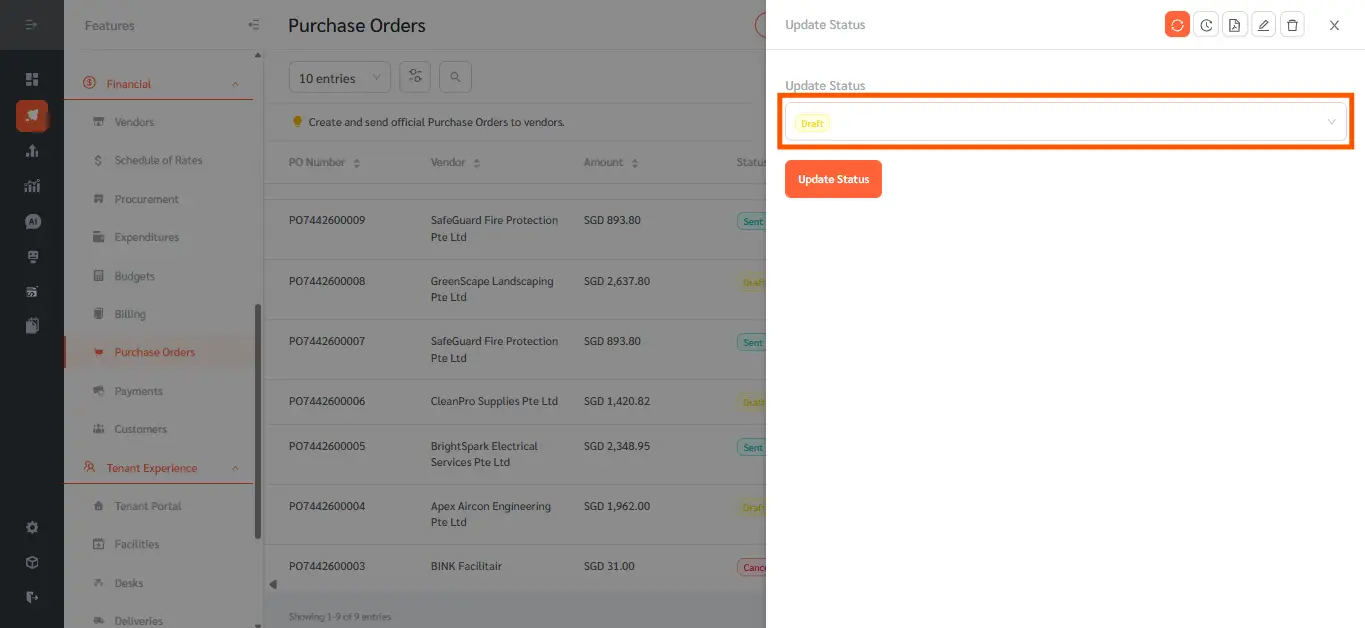
- To change a Purchase Order’s status, hover over its row and click the Update Status icon, then choose the new status from the dropdown and click the orange Update Status button. A Draft Purchase Order can be set to Canceled.
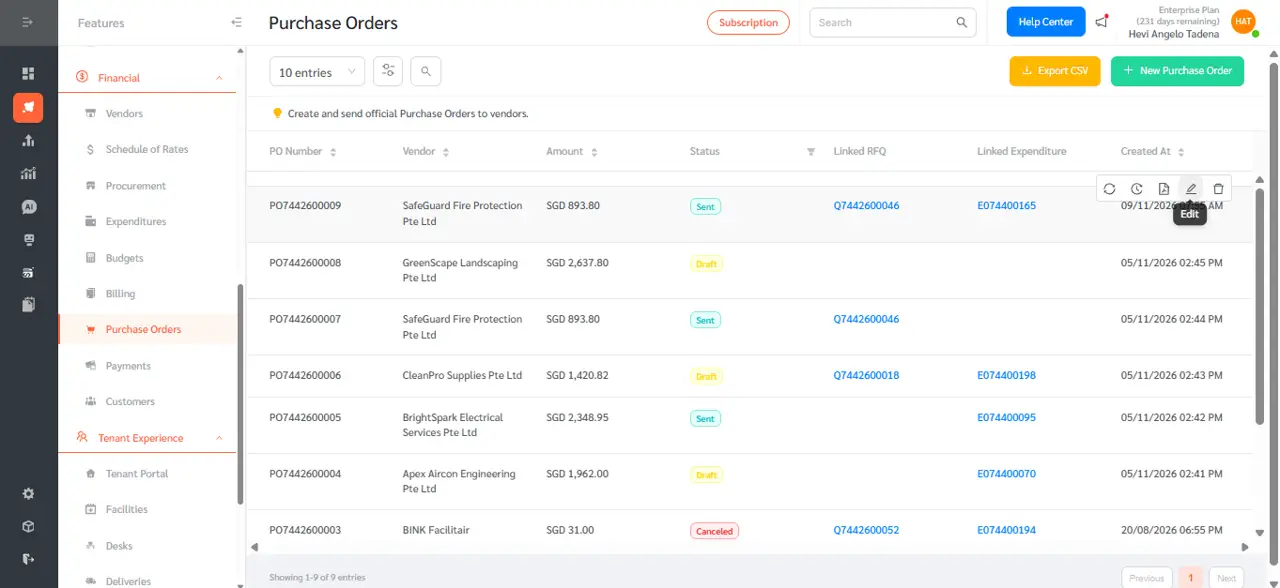
- To open a Purchase Order and make changes, hover over its row and click the pencil (Edit) icon.
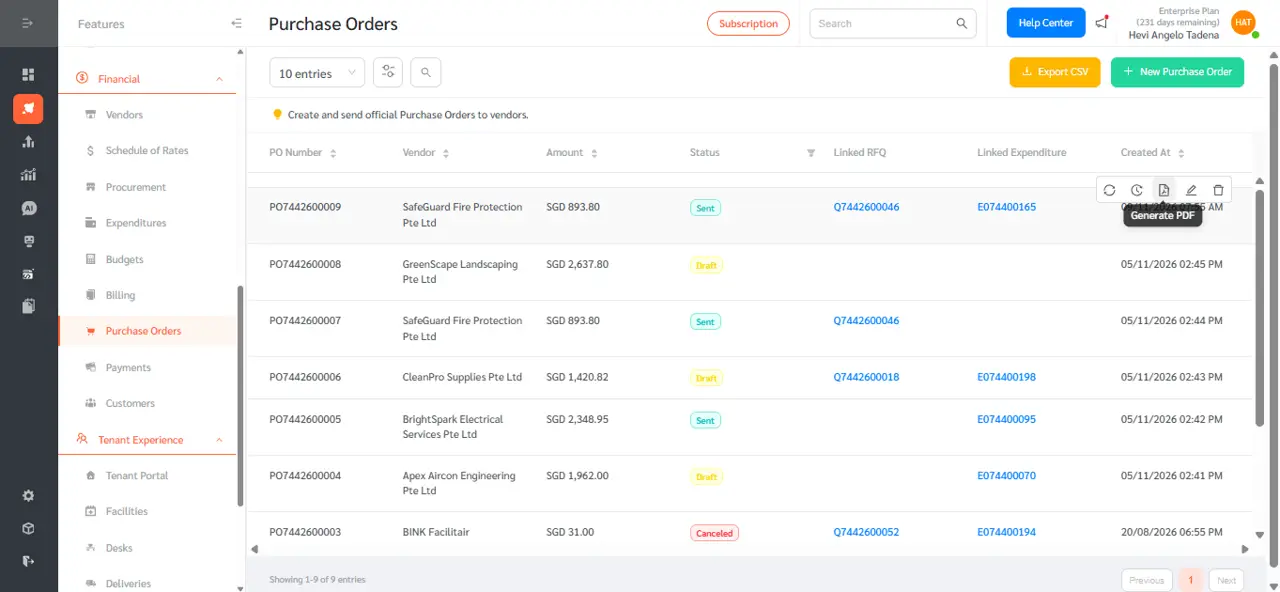
- To get a PDF of a Purchase Order, hover over its row and click the Generate PDF icon.
- Click the yellow Export CSV button in the top-right corner to download the list of Purchase Orders.
Purchase Orders bring vendor ordering into the same place you manage requests, vendors, and spend. By capturing vendor details, line items, tax, and totals in one structured document, and linking each order to its RFQ and Expenditure records, teams get a consistent, professional purchase order and a clear audit trail. Common use cases include ordering spare parts and consumables from approved vendors, issuing formal orders after an RFQ is awarded, and keeping a draft, sent, and canceled history of every order for finance and audit review.